


- Search
- Riyadh26 ° C


Export Multiple Versions at Once Using Batch Export in CapCut Desktop Video Editor
Are you a content creator or video editor who spends hours producing different versions of the same video? You might need one for TikTok, one for Instagram, and one for YouTube. Producing it manually takes a lot of effort and time.
But now, with the Batch Export feature in the CapCut desktop video editor, you can export all the versions at once. This feature saves your time and energy.
You will learn about the Batch Export feature in this article. You will know why you should use it and how to do it step by step. That will speed up your editing process, and you will be more efficient.

Why Use Batch Export in CapCut Desktop Video Editor
The Batch Export feature of the CapCut desktop video editor is time and effort-saving. Instead of exporting them individually, you can export all of them at once.
It's perfect for uploading videos on different platforms. You can create versions for YouTube, Instagram, or TikTok with the appropriate size and type.
With tools like text to speech and batch export combined, you can edit fast, especially if you're creating educational or advertisement content. It also keeps your work organized.
You can keep different video versions in one location. For editors who collaborate with clients or teams, this function assures smooth working, as you can send all the versions instantly.
Note that CapCut PC also possesses both free and paid tools. Some of the advanced tools, like Batch Export or AI video creator, may require a subscription.
How to Achieve Maximum Efficiency with CapCut Desktop's Batch Export
To make the most of the CapCut desktop video editor, use the Batch Export feature together with other tools. You can use templates to avoid wasting time on similar projects.
Tools such as the AI video generator will create interesting video parts automatically, and the voice changer will rapidly modify audio without additional steps.
By incorporating these features, you streamline your editing process, eliminate repetitive tasks, and ensure consistency among various versions of your videos. This will save you time and make your videos professional and polished every time.
Step-by-Step Guide to Using Batch Export on CapCut PC
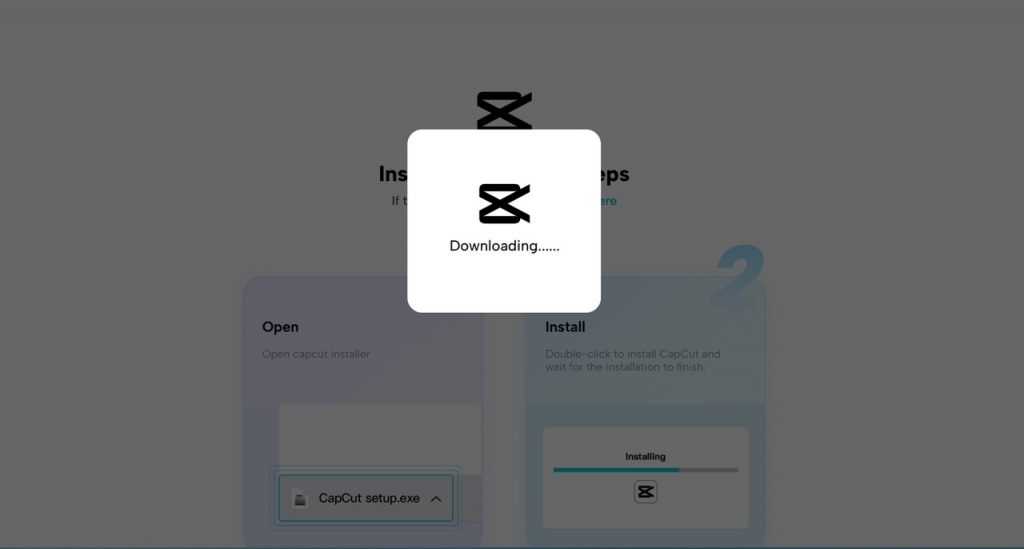
Step 1: Install CapCut Desktop Video Editor from the Official Website
First, go to the official website of CapCut to download the CapCut desktop video editor. Make sure you're downloading the appropriate version for your computer. Open the installer after the download to install the program.
After you've installed it, you'll need to log in or sign up for an account. This will allow you to open your projects and sync them across devices.
Note that although the majority of features are free, premium tools, like Batch Export, voice changer, or more advanced export options, are only available on a paid plan. So, check your plan to see if you need to upgrade.
After logging in, launch the CapCut PC application and either open a previous project or start a new one.

Step 2: Prepare Multiple Versions of Your Project
Now, in the editor, organize your video timeline. In order to create different versions, you can duplicate your timeline or edit different sequences for each version.
For example, one for YouTube, one for Instagram, and one for TikTok. For each version, resize the aspect ratio, add subtitles, overlays, and even different audio tracks to have the video suitable for each platform's requirements.
This is also an ideal moment to make use of the professional tools in CapCut. For instance, you can make use of the AI video maker to quickly add or auto-create segments that will make it easier for each version to be more appealing.
Make sure each version is well-labeled and organized in the timeline. This will make easy selection for export easy.

Step 3: Utilize the Batch Export Feature to Export All Versions at Once
Once edited, go to the Export area on CapCut PC. Click on the clip you want to export press shift + X.
You can adjust each file's specific settings, like resolution, bitrate, and format. For example, one version may be 1080p, while another is mobile-optimized.
If you've used any of the tools, including the voice changer, make sure these sound effects are finalized before exporting.
After making all the required settings, click Export. That way, you don't waste time and ensure each output is consistent and of high quality.

Conclusion
The Batch Export tool in CapCut desktop video editor ensures that exporting multiple versions of a video is fast and convenient. As a creator, educator, or editor, it streamlines the process of producing and sharing videos on various platforms without having to go through the same steps over and over again.
Try this tool on your next project and see how much time you can save. It's perfect for boosting your productivity while maintaining quality on all versions.
Always download CapCut PC from its official website to get access to free and premium tools that will enhance your editing experience.


